I love bagels. But, grocery store bagels leave me sad and wishing I had eaten toast (or sometimes, sawdust) instead. We have a Bruegger's in Charleston, but it's downtown and requires a special trip. They can't be that hard to make, right? I bake bread all the time and there's a bagel recipe in my go-to easy bread cookbook (Artisan Bread in Five Minutes a Day). Tonight we had leftovers for dinner, which meant time left over to try making bagels. I enlisted Steve as a lead timer, chief photographer, and assistant baker. He did good.
The cookbook focuses on bread dough that is relatively wet, requires no kneading, and keeps for up to two weeks in the refrigerator. I mixed up the bagel dough last night, let it rise for two hours on the counter then put it in the fridge - easy. I used the big mixer with a dough hook for the mixing, and the dough looked like this when I was done:
Tonight after dinner, I shaped some of the dough into balls. We only used about 1/3 of the dough and it made 6 good-sized bagels. You're supposed to let the shaped balls rest for 20 minutes while the oven and baking stone are preheating. According to our oven thermometer, our oven is a whopping 100 degrees off!
While the dough was...sitting there I guess, I started the boiling pot. Then just before boiling the bagels I poked a hole in and stretched them out until the center hole was 3x the size of the side wall of the bagel (per book instructions). At the end, I'll go over some of our
mistakes learned lessons.
Boil the bagels, two minutes per side. Then remove and put on a floured towel. This was a disaster. Top the wet boiled bagels with toppings - we optet for garlic and onion flakes.
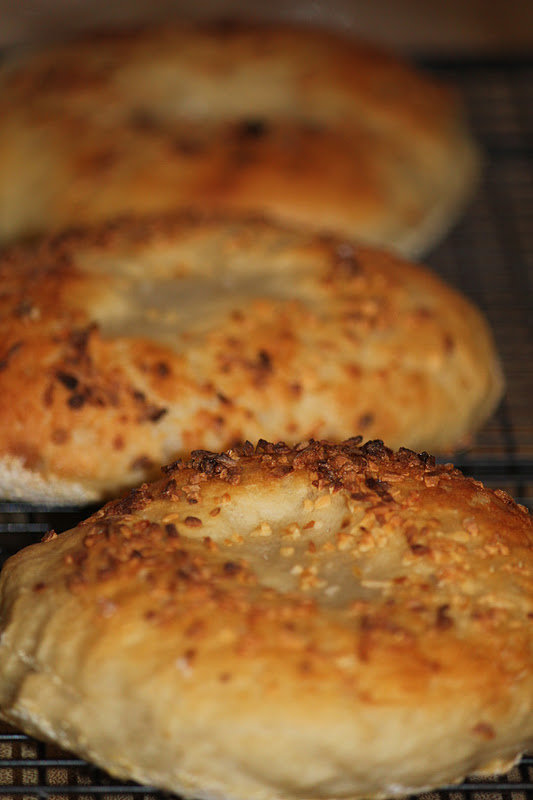
Gracefully slide the bagels off the peel and onto the stones. This part in reality was also a bit less elegant than I had imagined in my head. We ended up doing the boiling and baking in two batches because it was a bit of a mess the first time. Next time, we'll be able to do it all at once and it won't take us both to make them. Bake for 20 minutes, or until well browned. I opted to pull them out a bit early since I didn't want the toppings to burn.
Eat while warm! They were AMAZING! We thought the texture was good - especially on the second batch - they were chewy and slightly crunchy on the outside. So this is what we would note for the next time:
1) the water has to be boiling, not just simmering, when you cook them. it was a bare simmer for the first batch and they didn't set up enough, which just make a horrible, doughy mess on the 'floured towel' they recommended for the wet bagels before baking. We extended the boiling time to a solid 2 minutes per side, and they felt firmer for the second batch.
2) skip the floured towel. It was a nasty, snotty mess. For the second batch we used a slotted spatula to pull them out of the water, then blotted the spatula with the bagel still on it on a towel. It helped that the second batch was firmer since we boiled them more. Once out of the water and blotted the whole works could go on a pizza peel (sprinkled with cornmeal) or maybe next time we'll try a lightly oiled baking sheet or - better - onto parchment paper on the pizza peel.
3) make the hole big enough, but not too big. The second batch (the picture above of them boiling) was a bit too big. I think I'd go for a hole 2x the size of the bagel wall and see where that gets me.


C'mon! You impress me. Stop it! No, rather, keep doing it and remember to share with me! xo
ReplyDelete